Embarking on the journey of DIY nail art can be both exciting and rewarding. Whether you’re looking to add a personal touch to your nails or simply want to save some money, these beginner-friendly ideas will help you get started. Here are some simple and stylish DIY nail art ideas that anyone can try.
1. Classic French Manicure
The French manicure is a timeless classic that looks elegant and polished. To achieve this look, you’ll need a base coat, white nail polish, and a top coat. Start by applying a base coat to protect your nails. Then, paint your nails with a light pink or nude polish. Once dry, use a thin brush or a nail art pen to paint a thin white line along the tip of your nails. Finish with a top coat to seal the design.
2. Ombre Nails
Ombre nails create a gradient effect that is both trendy and easy to achieve. Choose two or three colors that blend well together. Start by painting your nails with the lightest color. Once dry, use a makeup sponge to dab the darker color onto the tips of your nails, blending it into the lighter color. Repeat with the third color if using, and finish with a top coat.
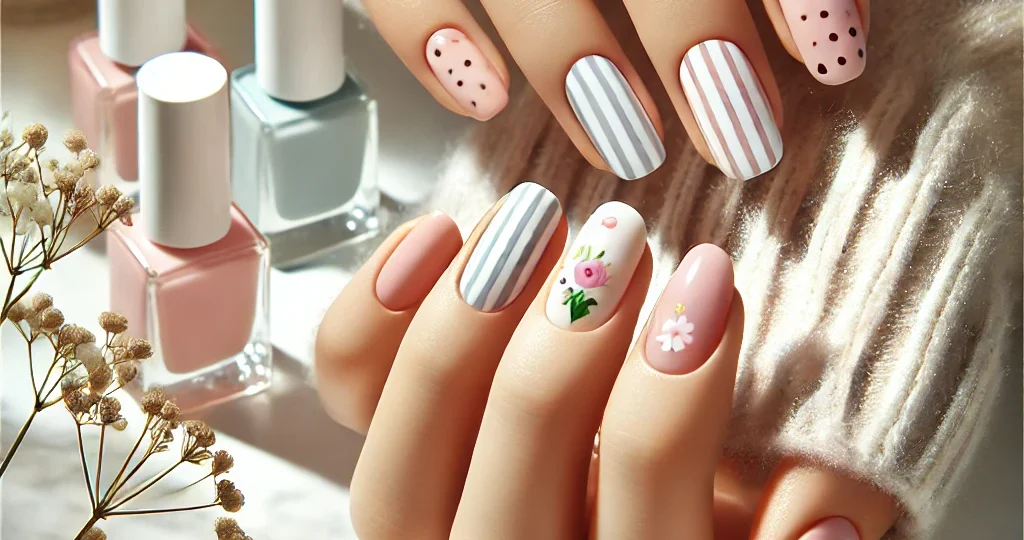
3. Polka Dots
Polka dots are a fun and playful way to add some personality to your nails. You can use a dotter tool or the end of a bobby pin to create the dots. Start by painting your nails with a base color. Once dry, use the dotter tool to apply small dots of a contrasting color. You can create a random pattern or follow a specific design, such as a diagonal or horizontal line of dots.
4. Stripes
Stripes are a simple yet effective way to add some interest to your nails. You can create vertical, horizontal, or diagonal stripes. Start by painting your nails with a base color. Once dry, use a thin brush or a nail art pen to paint stripes of a contrasting color. You can also use nail tape to create clean, straight lines.
5. Glitter Accents
Glitter accents add a touch of sparkle to your nails. Start by painting your nails with a base color. Once dry, use a thin brush or a nail art pen to apply a small amount of glitter polish to the tips or sides of your nails. You can also use a glitter top coat for a more subtle effect.
6. Marble Nails
Marble nails create a unique and sophisticated look. To achieve this effect, you’ll need a base color, a contrasting color, and a top coat. Start by painting your nails with the base color. Once dry, use a toothpick or a nail art pen to create swirls and patterns with the contrasting color. Finish with a top coat to seal the design.
7. Negative Space Nails
Negative space nails involve leaving parts of your nail unpainted to create a design. Start by painting your nails with a base color. Once dry, use nail tape or a thin brush to create shapes or patterns by leaving parts of the nail unpainted. You can create geometric shapes, lines, or even intricate designs.
8. Matte Finish
A matte finish gives your nails a modern and chic look. Start by painting your nails with your desired color. Once dry, apply a matte top coat to give your nails a non-shiny finish. You can also use a matte nail polish for a more durable effect.
9. Color Blocking
Color blocking involves using two or more colors to create a bold and eye-catching design. Start by painting your nails with a base color. Once dry, use a thin brush or a nail art pen to paint blocks of contrasting colors. You can create geometric shapes, stripes, or even abstract designs.
10. Nail Stamping
Nail stamping is a fun and easy way to create intricate designs. You’ll need a nail stamping kit, which includes a stamper, scraper, and plates with various designs. Start by painting your nails with a base color. Once dry, use the stamper to transfer the design from the plate onto your nails. Finish with a top coat to seal the design.
Tips for Beginners
- Start with a clean, dry nail surface.
- Use a base coat to protect your nails and help the polish adhere better.
- Apply thin layers of polish to avoid bubbles and ensure a smooth finish.
- Allow each layer to dry completely before applying the next.
- Use a top coat to seal your design and add shine.
- Practice makes perfect, so don’t be discouraged if your first attempts aren’t perfect.
DIY nail art is a fun and creative way to express yourself and add a personal touch to your nails. With these beginner-friendly ideas, you can experiment with different styles and techniques to find what works best for you. Happy painting!


